This guide provides step-by-step instructions for performing a factory reset on the Peplink MAX BR1 Mini. It includes methods using the InControl2 platform and the physical reset button, with enhanced visuals.
Important Notes
1. Backup Your Settings: A factory reset will erase all custom settings and configurations. If possible, back up your settings before proceeding.
2. Physical Access Required: Ensure you have physical access to the device.
Method 1: Using InControl2
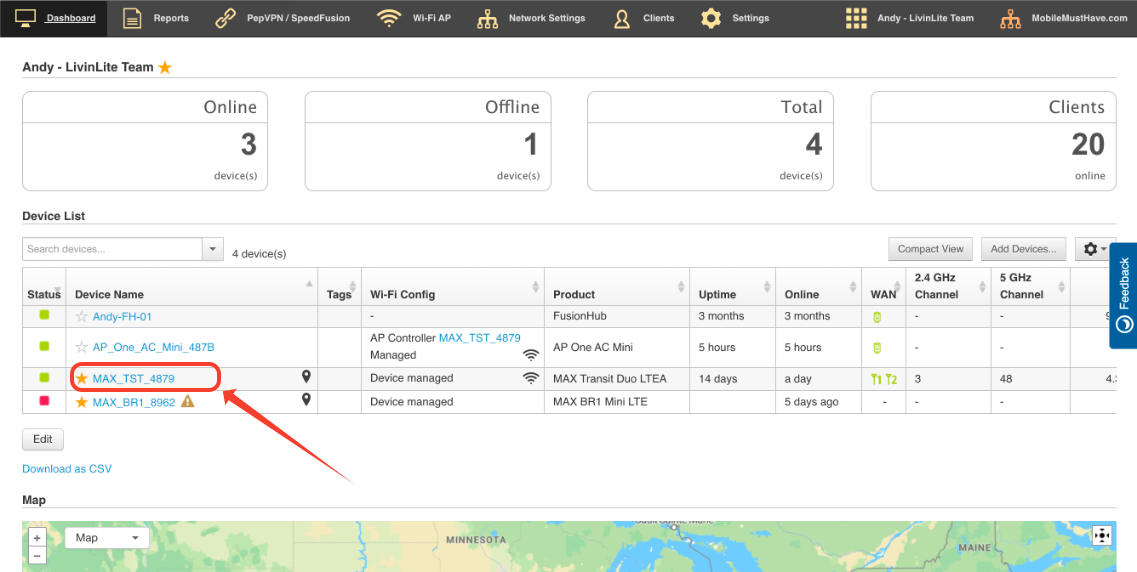
1. Log In to InControl2: Visit http://incontrol2.peplink.com and log in with your credentials. Add your Peplink device using its serial number.
2. Access Remote Web Admin: In the device-specific page, navigate to Settings and select Remote Web Admin. This will open the unit's administration console.
3. Reset the Device:
a. Navigate to the System tab.
b. Click on Admin Security in the left-hand menu.
c. Reset your local password by entering it twice.
d. Click Save, then Apply Changes.
Note: This method resets the password without erasing settings.


To factory reset a Peplink Max BR1 Mini from the web admin interface, navigate to the device's web admin page, usually accessible at "192.168.50.1", then go to the system settings section where you will find an option to "Restore Factory Defaults" or similar, which will prompt you to confirm the reset action before the device reboots to factory settings.
1. Access the web admin: Open a web browser and enter the default IP address of your Peplink Max BR1 Mini, which is typically "192.168.50.1".
2. Login with credentials: Use the default username and password, usually "admin" for both.
3. Navigate to system settings: Find the section related to system settings or configuration within the web admin interface.
4. Select factory reset option: Look for a button or option labeled "Restore Factory Defaults" or similar and click it.
5. Confirm reset: The system may prompt you to confirm the factory reset action.
Method 2: Using the Reset Button
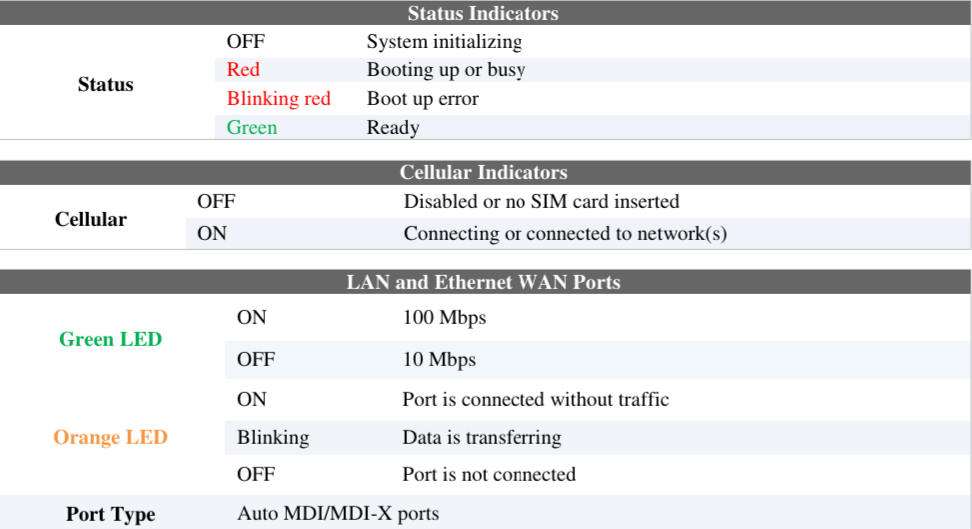
1. Locate the Reset Button: The reset button is a small hole marked with a reset icon (circular arrow). Use a paperclip or similar tool to press it.

2. Prepare the Device: Ensure the device is powered on. Wait for the status light to turn solid green, indicating the device is operational.
3. Perform the Reset:
a. Soft Reset (Password Reset Only): Insert the tool into the reset hole and press and hold the button for 5-7 seconds. Release the button once the status light starts blinking or changes color. This action resets the password without erasing settings.
b. Hard Reset (Factory Reset): Press and hold the reset button for 20 seconds or until all LEDs simultaneously flash and the ststus LED turns red. Release the button and wait approximately 2 minutes for the device to reboot. Once the status light is solid green, the device has been reset to factory defaults.
After Reset
1. Access the Web Admin Interface: Connect a computer to the LAN port of the device. Open a browser and navigate to http://192.168.50.1. Use the default credentials (Username: admin, Password: admin) to log in.
2. Restore or Reconfigure Settings: Reconfigure the device or restore your settings from a backup.
Was this article helpful?
That’s Great!
Thank you for your feedback
Sorry! We couldn't be helpful
Thank you for your feedback
Feedback sent
We appreciate your effort and will try to fix the article